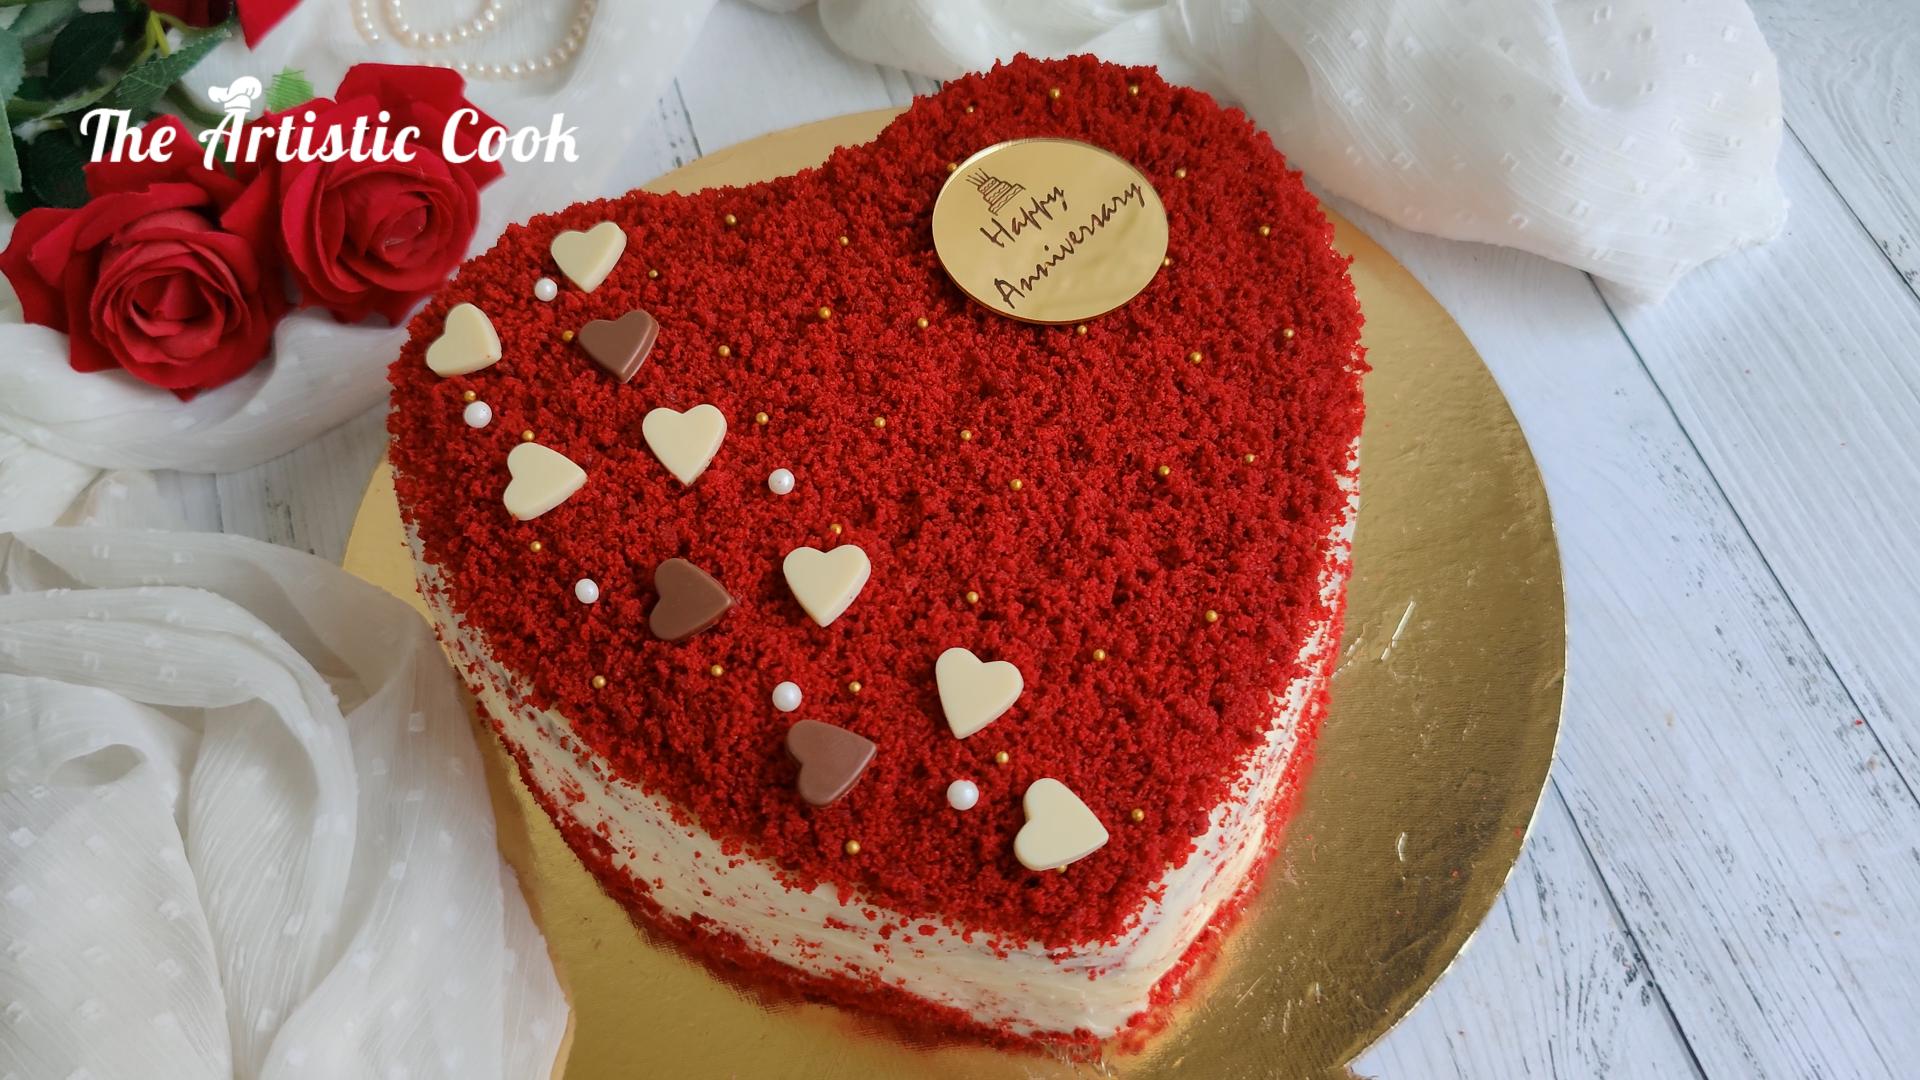
Ingredients
Method
- It is recommended to weigh all the ingredients for best results always. Sift and Whisk the Flour, Cocoa, Baking soda and Salt together in a large bowl. Set aside.
- Beat the butter until smooth for a few seconds. Add the sugar and beat together for a minute.
- Add the Eggs one at a time, mixing each egg well until well incorporated.
- Add Oil and Mix. Add Vanilla Essence and food color. Use Gel colors always. Use a bit first, mix and add more if required.
- Add the dry ingredients in three batches alternating with the buttermilk. Do not overmix the batter. Mix at low speed only till the flour is just incorporated. Overmixing results in a dense cake. You can also fold gently using a spatula instead of using a mixer.
- Add the plain vinegar at the end and Mix. Red velvet batter is ready.
- Prepare an 8 Inch Baking tin by greasing with oil first and then lining with parchment paper. Pour the batter into the tin and Bake the cake at 180°c for 70-75 mins or till toothpick inserted in the middle comes clean..
- I baked few cupcakes as well. Bake the Cupcakes at 180°c for 22-25mins or till toothpick inserted in the middle comes clean.
For The Cream Cheese Frosting
- Weigh the Butter and transfer into a bowl. Let it come to room temperature. Beat it till smooth for a few seconds.
- Weigh the Icing sugar and add it to the Butter. If you are using powdered sugar then always sift it for a smooth finish.
- Add the sugar in batches and mix well. Add vanilla essence.
- Weigh the Cream Cheese. Use it while still cold from the refrigerator and mix it well till smooth. Add it to the Butter mix and mix at lowest speed till just incorporated. Do not Overmix or else the cream cheese might curdle.
